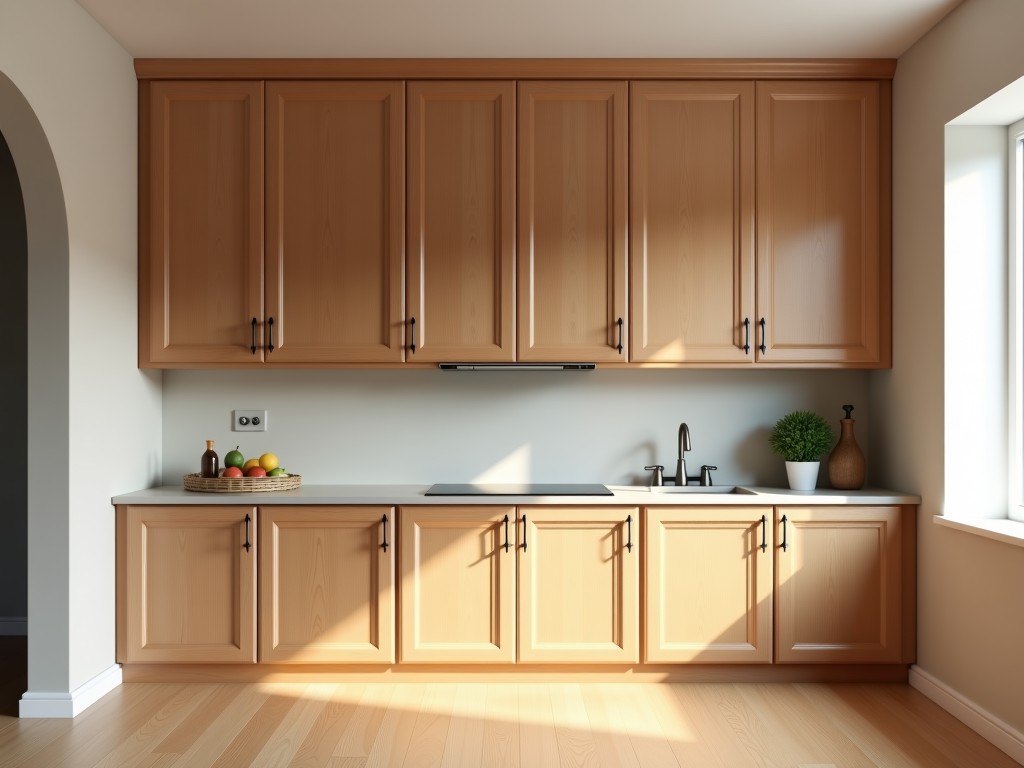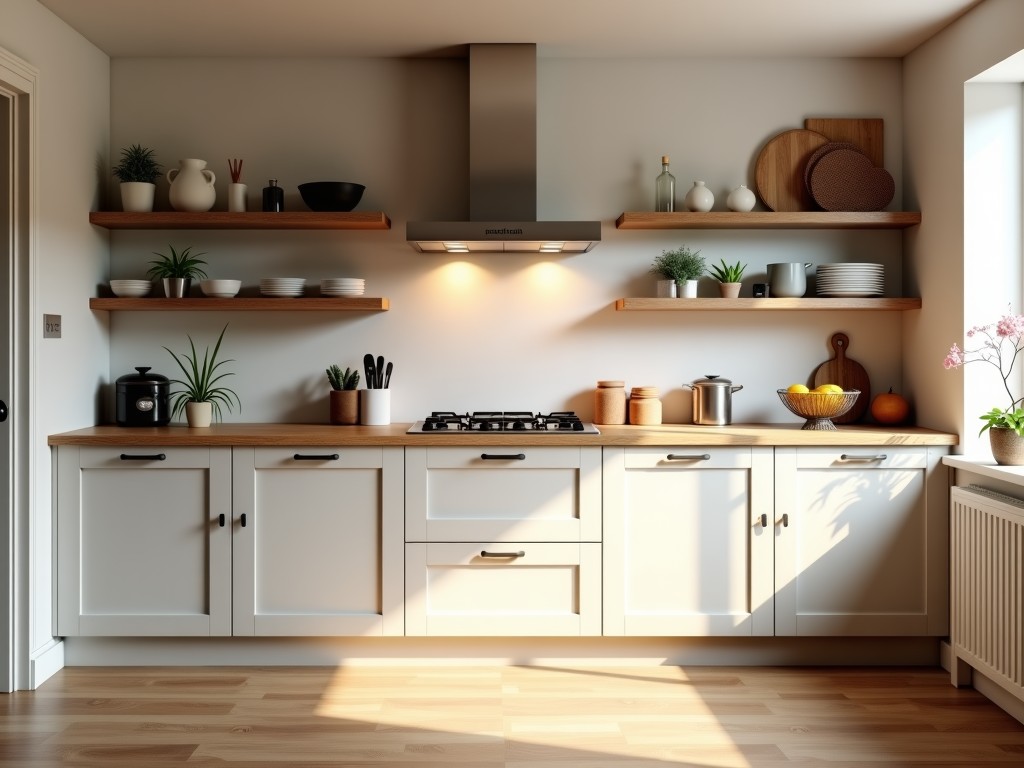
Built In Wall Pantry Cabinet B2B Supplier
Built In Wall Pantry Cabinet B2B Supplier
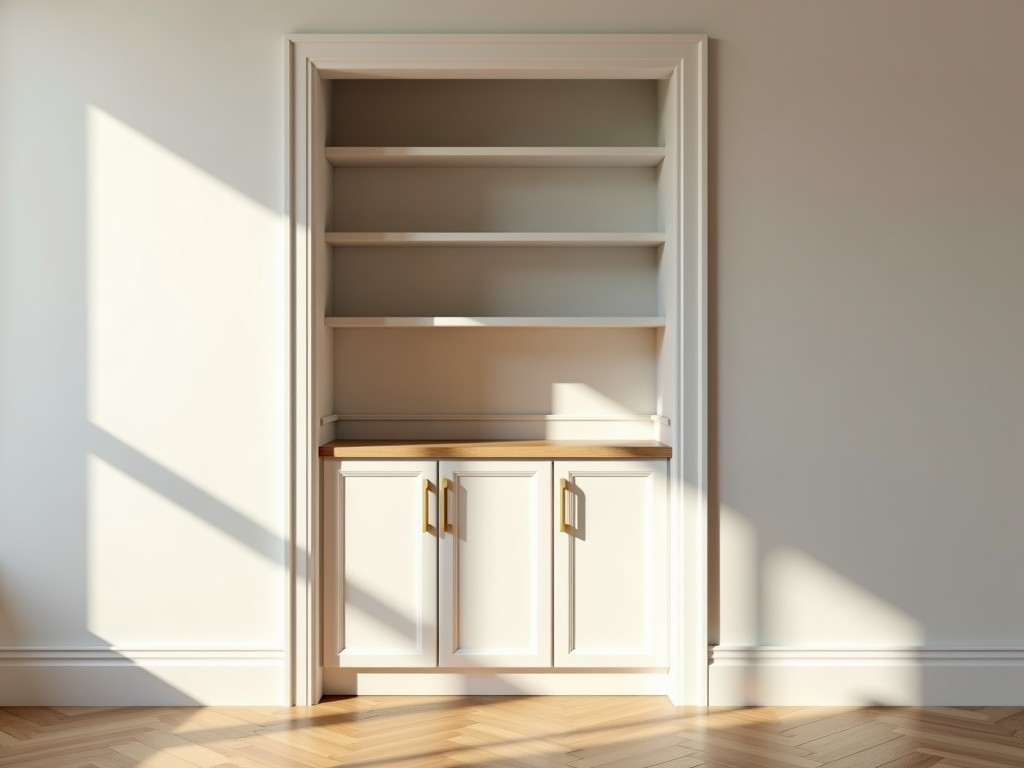
Built-In Wall Pantry Cabinet
Designed for seamless integration into residential and commercial kitchen environments, a built-in wall pantry cabinet provides dedicated storage for dry goods, canned items, and small appliances while maintaining a flush appearance with surrounding cabinetry. Unlike freestanding units, these cabinets are engineered to align precisely with wall studs and adjacent base or upper units, ensuring structural continuity and aesthetic coherence in modular kitchen layouts.
Industry Challenge: Space Optimization in Modern Kitchens
In contemporary kitchen design, maximizing vertical storage without compromising workflow or visual harmony remains a persistent challenge. Standard shelving or open racks often fail to protect contents from dust, light, or accidental contact, while protruding units disrupt countertop clearance and traffic flow. Designers and contractors require storage solutions that can be concealed within the wall cavity, adapted to varying stud spacing, and finished to match existing millwork—all without sacrificing load capacity or long-term durability under frequent use.
Engineering Perspective: Structural Integration and Load Distribution
A built-in wall pantry cabinet derives its stability from direct attachment to the building’s framing system. The cabinet box is typically constructed to span between two wall studs, with mounting brackets or cleats secured into the studs to transfer both dead load (cabinet weight and contents) and live load (dynamic forces during door operation) to the structural frame. Proper load distribution prevents sagging over time, particularly when storing heavier items like bulk food packages or small countertop appliances. The depth of the cabinet is constrained by the wall cavity—usually 3.5 inches for standard 2x4 framing—but can be extended using furring strips or relocated studs in custom installations.
Material Selection: Balancing Durability, Finish, and Weight
Material choice directly influences the cabinet’s performance, installation complexity, and lifecycle cost. Common substrates include:
- Particleboard with melamine laminate: Cost-effective for dry environments; offers consistent dimensional stability and a wide range of wood-grain or solid-color finishes. Not recommended for high-humidity zones without edge sealing.
- Medium-density fiberboard (MDF): Preferred for painted finishes due to its smooth surface and minimal grain telegraphing. Higher density than particleboard, providing better screw retention for hinges and shelf pins.
- Plywood (birch or hardwood core): Offers superior strength-to-weight ratio and resistance to sagging, making it suitable for wider spans or heavier loads. Exterior-grade plywood with phenolic backing can be used in humid climates.
- Solid wood (maple, oak, or poplar): Used in premium applications where natural grain is desired; requires acclimatization and skilled joinery to mitigate seasonal movement.
All materials are selected based on environmental conditions, expected load, and finish requirements. Edge banding, typically PVC or ABS, is applied to prevent moisture ingress and improve impact resistance at vulnerable corners.
Manufacturing Process: Precision and Repeatability
Production begins with CNC cutting of panel stock to exact dimensions, ensuring squareness and consistent panel-to-panel alignment. Dadoes, rabbets, and shelf pin holes are machined using multi-spindle boring systems to maintain positional tolerances within ±0.5 mm. Edge banding is applied via hot-air adhesive systems, followed by trimming and buffing for a seamless finish. Assembly typically uses cam locks, confirmat screws, or dowels with glue—methods chosen for their strength, ease of disassembly for service, and resistance to creep under sustained load. Each unit undergoes a dry-fit check before finishing to verify door alignment and shelf levelness.
Performance Advantages: Functionality Built Into the Wall
By recessing the cabinet into the wall, designers gain usable storage without reducing floor area or obstructing sightlines. The flush installation eliminates dust accumulation on top surfaces and reduces cleaning effort compared to protruding units. When equipped with soft-close hinges and full-extension slides (for pull-out shelves or baskets), the cabinet delivers quiet, controlled operation—beneficial in open-plan living spaces. Interior accessories such as adjustable shelves, wire baskets, or door-mounted organizers can be configured to match specific storage needs, improving accessibility and reducing food waste through better visibility.
Typical Specifications
| Parameter | Typical Range / Detail |
|---|---|
| Standard Width | 12", 15", 18", 24", 30", 36" (stud spacing dependent) |
| Standard Height | 30", 36", 42", 48", 84" (floor-to-ceiling or upper wall) |
| Depth (Wall Cavity) | 3.5" (standard 2x4); extendable to 5.5" with furring |
| Load Capacity per Shelf | 20–35 lbs (UDL), depending on material and support method |
| Door Overlay Options | Full overlay, partial overlay, inset |
| Finish Options | Melamine, PVC foil, polyurethane paint, wood veneer, laminate |
| Adjustable Shelf Increments | 32 mm or 1.25" hole spacing (European or face-frame systems) |
Application Scenarios: Where Integration Adds Value
In residential kitchens, built-in wall pantries are commonly installed beside refrigerators or beside ranges to store spices, oils, and baking supplies at eye level—reducing the need to bend or reach. In multifamily housing, they provide standardized storage that aligns with unit turnovers and maintenance cycles. Commercial applications include hotel kitchenettes, assisted living facilities, and office break rooms, where hygiene, accessibility, and ADA compliance are priorities. The recessed profile allows compliance with protrusion limits in accessible routes while still offering meaningful storage depth.
Customization Options: Adapting to Project Requirements
Customization begins with dimensional adjustments to accommodate non-standard stud spacing, ceiling heights, or obstructions such as electrical conduits or plumbing vents. Interior configurations can be tailored with pull-out trays, tilt-out bins for small items, or vertical dividers for baking sheets and cutting boards. Door styles range from slab to shaker, with options for glass inserts, aluminum frames, or integrated handles. For projects requiring fire resistance, fire-rated gypsum backers or intumescent seals can be incorporated into the assembly. All modifications are subject to engineering review to ensure load paths and fastening methods remain compliant with local building codes.
Packaging and Logistics: Protecting Finish and Integrity
Finished cabinets are wrapped in polyethylene film to prevent surface abrasion, then placed in individual cardboard cartons with corner protectors and edge guards. Cartons are marked with handling indicators and SKU information for warehouse tracking. For large-scale projects, cabinets may be sequenced and palletized according to installation zones to streamline on-site logistics. Flat-pack options are available for projects with restricted access, utilizing cam-lock or screw-and-dowel assemblies that maintain structural integrity when properly installed.
Installation: Critical Considerations for Performance
Proper installation begins with locating and marking wall studs using a stud finder or magnetic locator. The cabinet must be shimmed to ensure it is plumb and level before fastening—any twist or rack will compromise door alignment and long-term function. Fasteners should be driven into the studs at a minimum of 1.5-inch embedment, using screws rated for shear and withdrawal strength. After installation, doors are adjusted for reveal consistency and smooth operation. A final check confirms that the cabinet does not interfere with adjacent trim, outlets, or switch plates. Clearance for door swing must be verified, particularly in corner installations or where adjacent appliances may encroach.
Maintenance: Preserving Function and Appearance
Routine maintenance involves wiping surfaces with a damp cloth and mild detergent—avoiding abrasive cleaners that can degrade laminate or paint finishes. Hinge screws should be checked periodically for tightness, as vibration from door use can cause loosening over time. Shelf pins and clips should be inspected for wear, especially in high-use environments. In humid climates, annual inspection of edge seals and rear ventilation (if applicable) helps prevent moisture-related swelling or delamination. Touch-up kits are available for minor finish damage, allowing localized repair without full refinishing.
Quality Control: Consistency Across Production Runs
Dimensional accuracy is verified at multiple stages: after cutting, after edge banding, and after assembly. Diagonal measurements are checked to confirm squareness, with acceptable variance typically under 2 mm. Finish quality is assessed under standardized lighting for color uniformity, gloss level, and defect visibility. Functional testing includes door swing cycles (minimum 20,000 cycles for residential grades), shelf load testing, and hinge endurance. Any unit failing to meet criteria is segregated for rework or scrap. Documentation of inspection results is maintained for traceability, particularly for OEM or contract manufacturing projects.
Selection Guide: Matching Cabinet to Use Case
When specifying a built-in wall pantry cabinet, begin by evaluating the wall cavity depth and stud spacing to determine feasible dimensions. Assess the expected load—light (dry goods, spices), medium (canned goods, small appliances), or heavy (bulk storage, countertop appliances)—to guide material and hardware selection. Consider the desired finish in relation to adjacent cabinetry: melamine for cost-sensitive projects, MDF with paint for seamless integration, or plywood with veneer for premium aesthetics. Evaluate access needs: fixed shelves for static storage, pull-outs for frequently used items, or door-mounted organizers for utensils and packets. Finally, confirm that the chosen configuration complies with local building codes, particularly regarding fire safety, accessibility, and ventilation if appliances are stored inside.
Call to Action
Share your project dimensions, wall configuration, and storage requirements with our engineering team to receive a detailed proposal and CAD-ready drawings for your built-in wall pantry cabinet.